As a teacher who owns a Cricut and loves to use it, I’m always looking for Cricut in the classroom ideas. There are so many ways you can use your Cricut to decorate your classroom, but I love finding ways to make parent gifts that parents will treasure for years to come. This is a very simple idea that I’ve used for a few years now.
Materials Used for Mugs
It’s always fun to use the Cricut in the classroom ideas. Students love to see the machine in action and will even ask to learn how to use it.
Getting Started: Taking Student Pictures and Uploading to Design Space
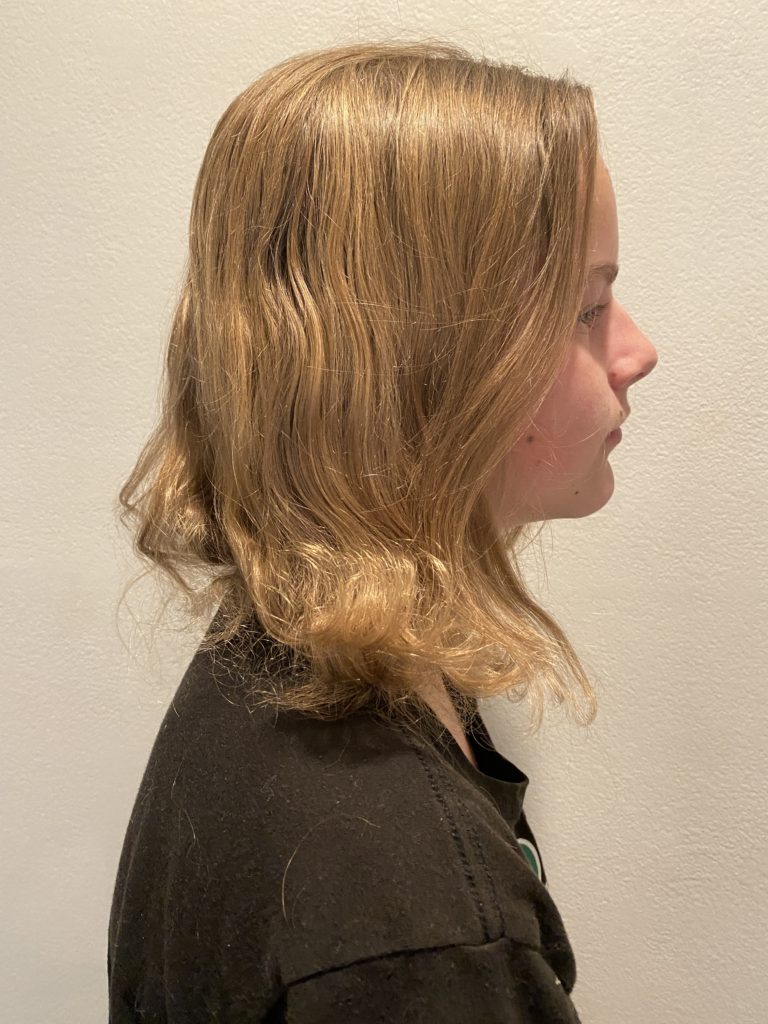
The first thing you will need to do is take your students pictures with a side profile on a plain wall. If there is too much in the background, it will make removing the background challenging.
Once you have your students’ pictures, you will need to upload them into one of two places.
If you pay the monthly subscription for Cricut Access, you will upload your photos straight to Cricut Design Space. Don’t worry if you don’t have Cricut Access, I will give you a free alternative down below.
Follow the steps below to upload your pictures to Cricut Design Space and then size your silhouette on the canvas.
First, go to a new project and on the bottom left, click on Upload. You can either drag and drop your photo to this spot or you can browse on your computer if that’s easier. Since I take all my pictures on my Iphone, I can access all my photos easily on my Macbook Pro. If you have to email yourself the pictures or import them to your computer, save them to a file you can easily find.
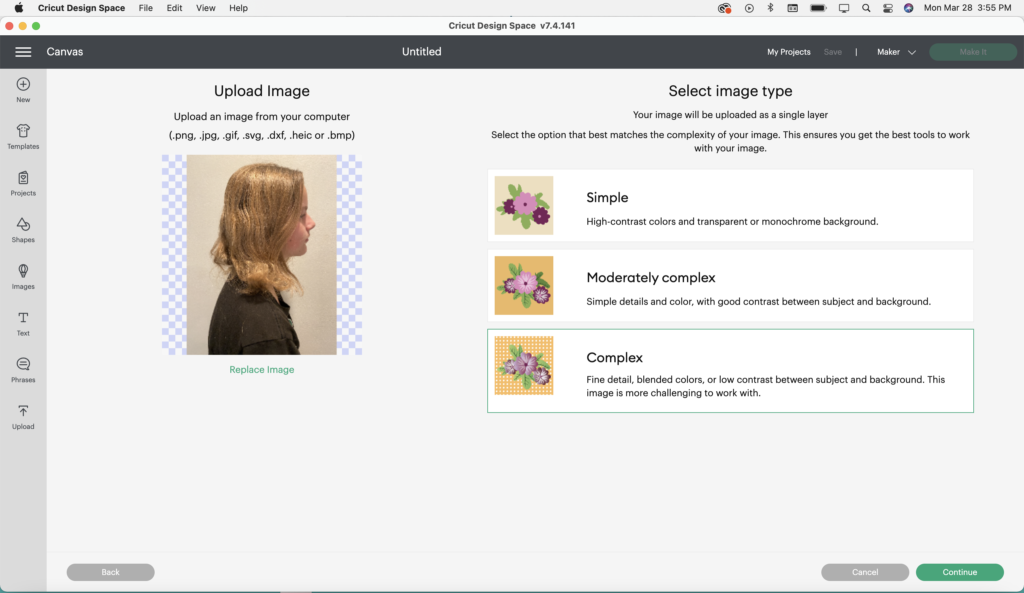
Once you choose your first photo, you will select the “complex” image type and then continue.
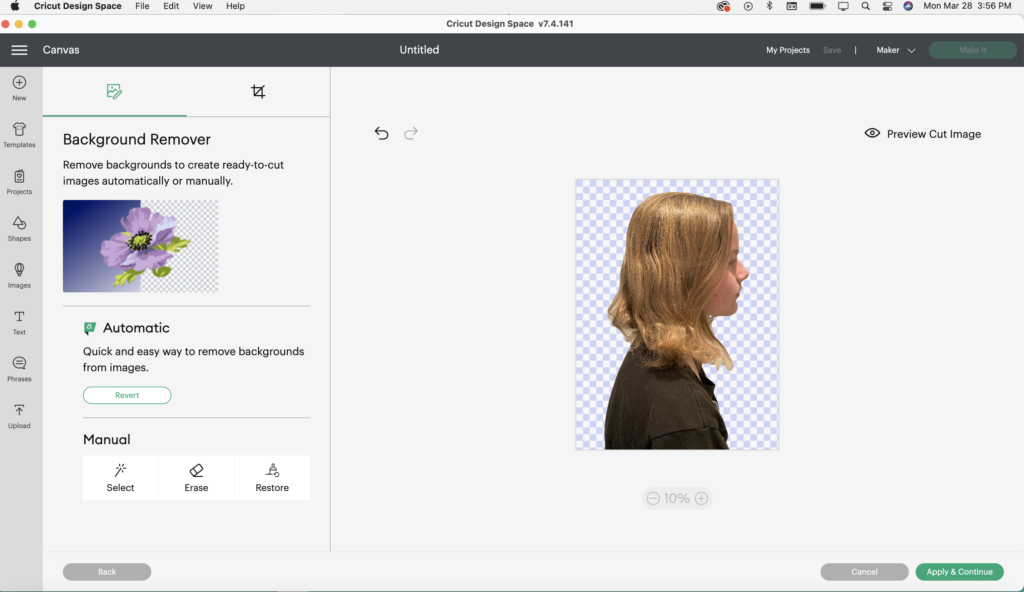
The next screen will offer the “Remove Background” option. Go ahead and click on that. The best part is it removed the background of all my images perfectly. On this screen, you can also crop your photo so you have your students around their shoulder area. I wasn’t able to get good pictures of this step. The crop icon is on the top left and then you select the part of your picture you want to cut. Now click “Apply and Continue.”
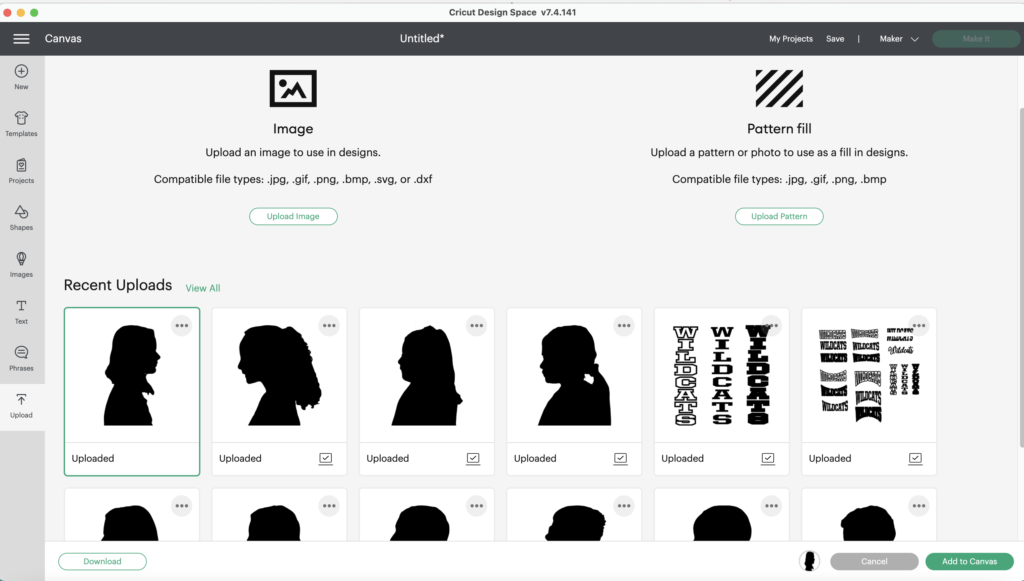
On the next screen, you will choose whether to save it as a cut only or print then cut. I choose cut only because I can’t see any purpose that I would use this design as a print and cut. I also change the image name to the student’s name at this point. Now click “Upload.”
Next Steps: Add to Canvas and Resize Images
Now your image is in Cricut Design space and all you have to do is add it to the canvas and change the size of the image. Since most mugs are approximately 4 inches tall, I click at the top where it says size and click on the H to put in my height. I type in 3.5 and it will automatically resize my image to be the right size to fit on the mug.

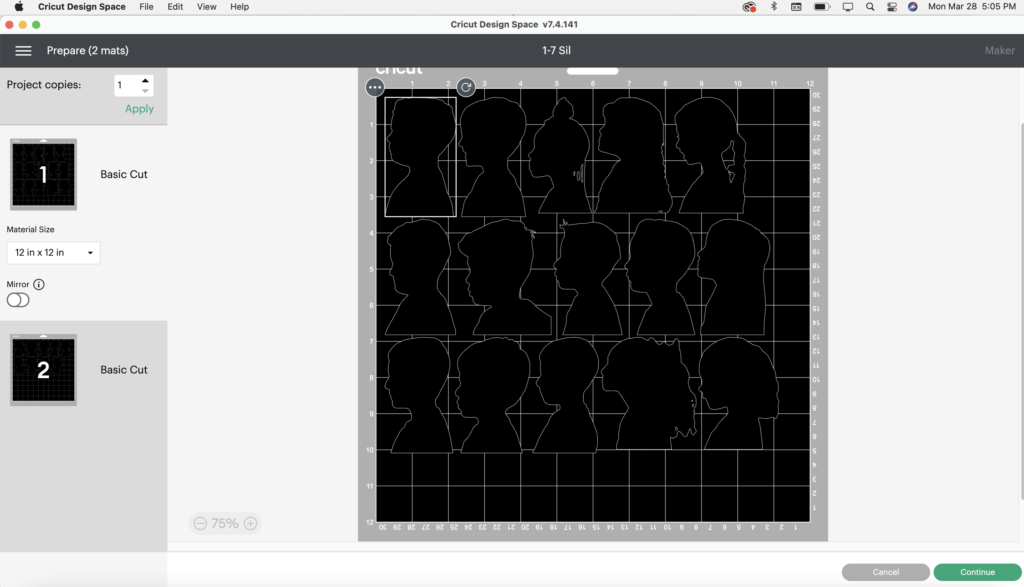
You can continue to add all your students to this canvas or you can add a few students to each project. I found I was able to fit 15 students on the first mat and 9 on the second mat so I added them all to the same project to save on vinyl.
Cutting the Vinyl
Once you have all the images ready to cut, go ahead and click on the green “Make it” button on the top right side of your screen. This is where you’ll see how the images will cut and can move things around if needed. If everything is okay, click on “Continue.”
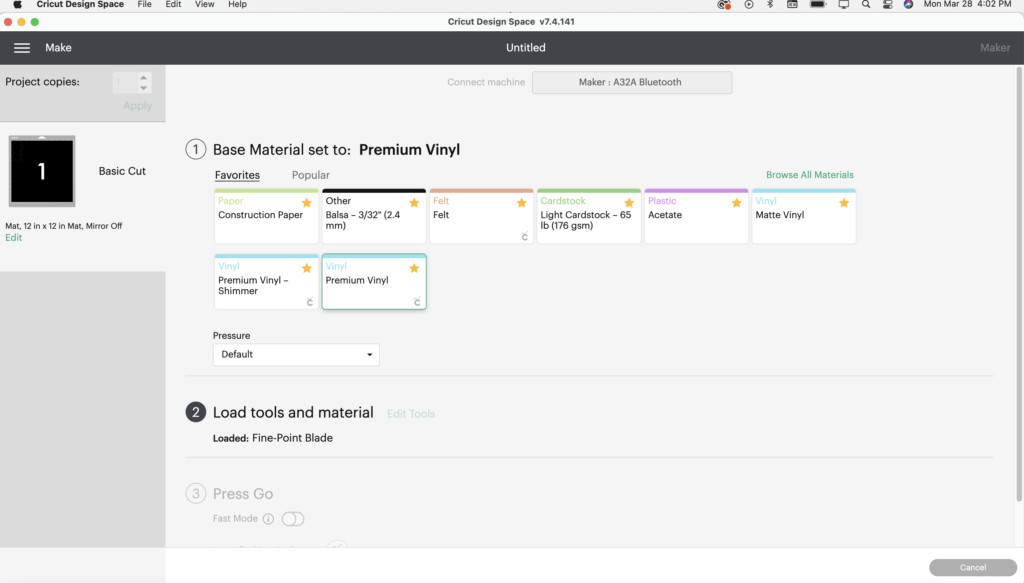
Now you will go ahead and connect your machine and choose the material you will use. I chose the Premium Vinyl setting. Load your materials and go ahead and cut. I didn’t get pictures when I made this project for my class, so I improvised by cutting one out for my daughter. When the machine is done cutting, go ahead and weed your project.
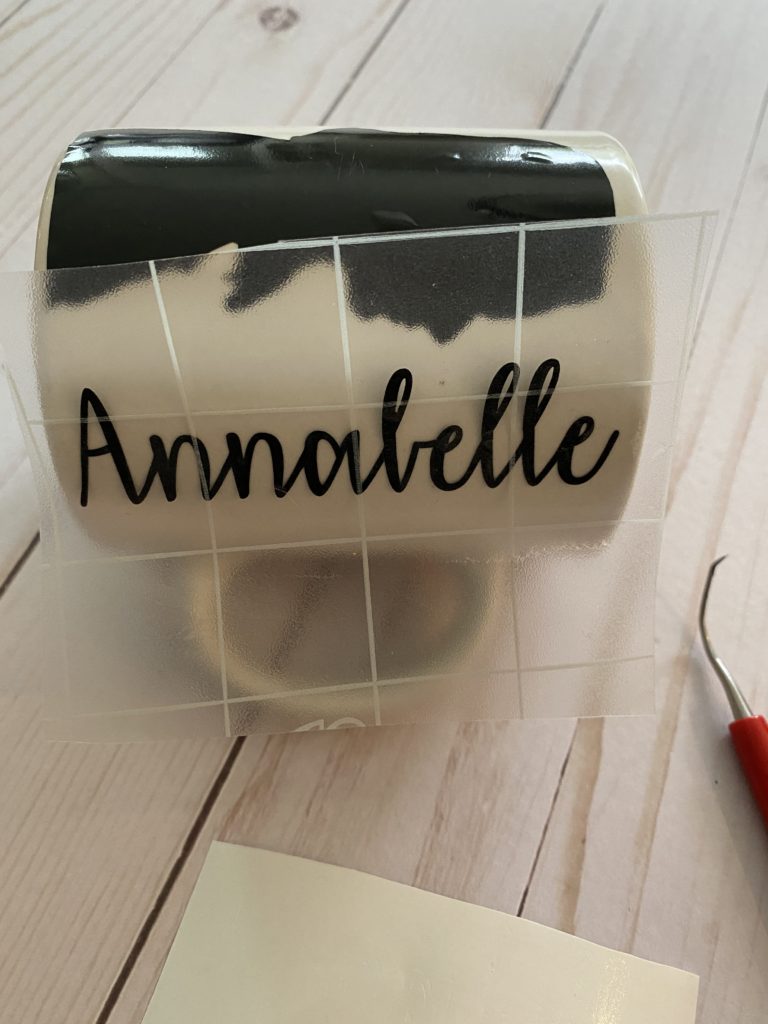
Applying the Decal to the Mug
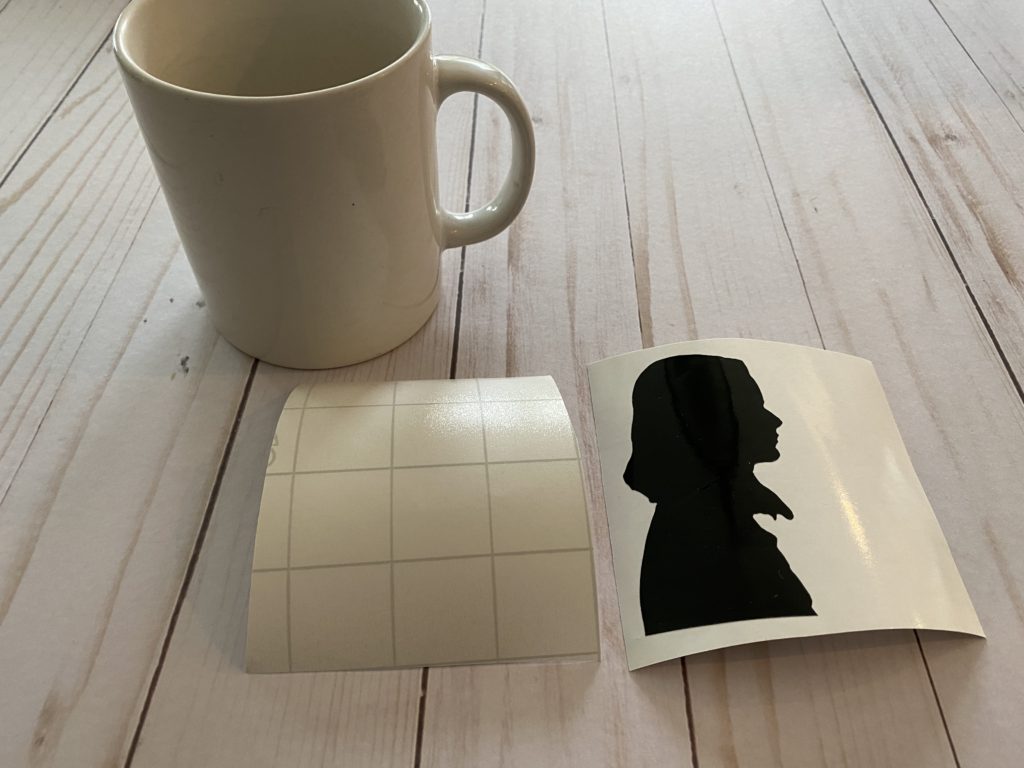
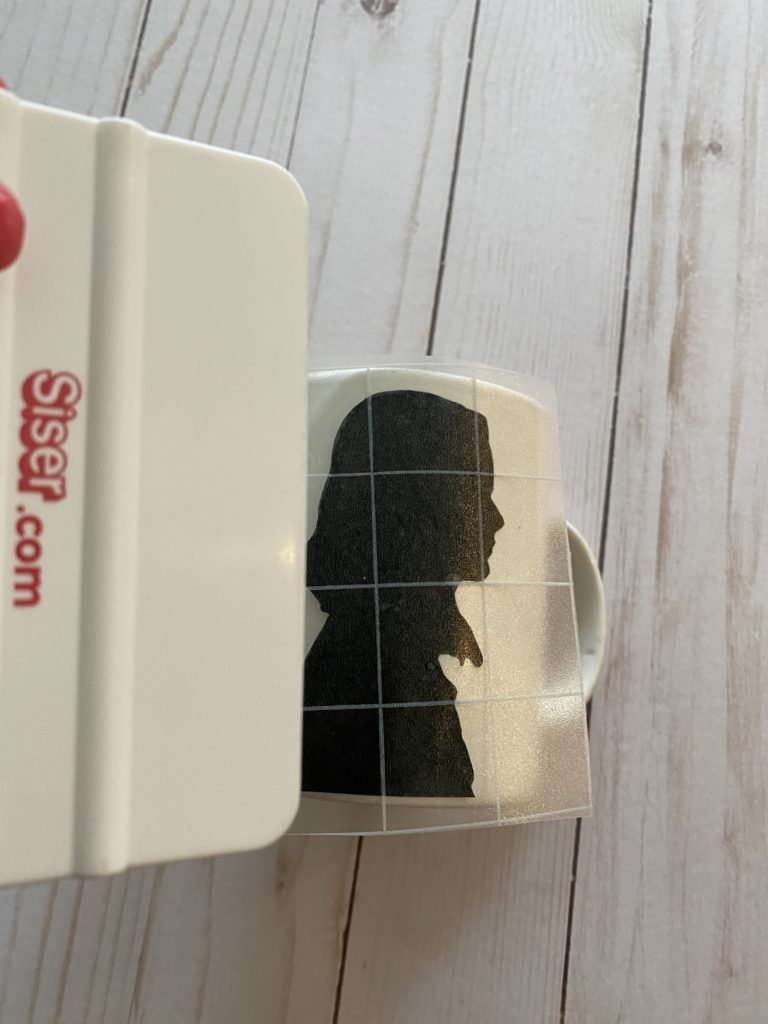
You will need transfer tape and something to scrape the vinyl so it adheres to the transfer tape. I use a squeegee like tool, but Cricut has their own line of tools. Peel your transfer tape off the backing and place on top of the cut out image. Use your tool to scrape until the vinyl is adhered to the transfer tape. Now peel it off and place where you want it on the coffee mug. I leave about an inch or so from the handle so I have enough room to add the name.

Follow the last step for each of your students.
Once you have their silhouettes on the mug, it’s time to make the names. I open a new project and add each of the students names and size them to about 1inch by 3.5 inches. I also make sure to choose a font (I used the Arial font) that I can weld and it will attach all my letters. Cut the names and apply in the same manner.
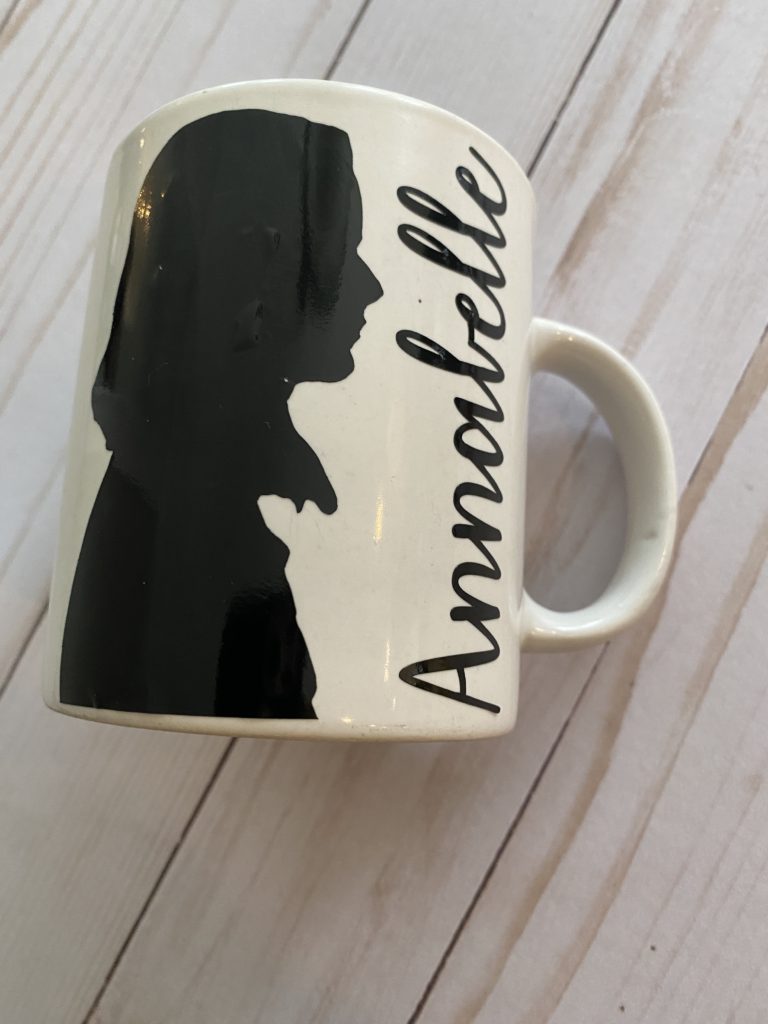
The last thing I do is have the students write a note to a loved one on the back side of the mug using an oil based paint marker that won’t fade after washing.
My original intention was for a Mother’s Day project, but plenty of my students don’t have a mom they want to gift it to. I allow them to choose anyone they love, but I do send them home the Friday before Mother’s Day. The main reason for this is because I start working on them during spring break and we are out of school for summer vacation shortly after Mother’s Day.
This would also make a great Christmas or Valentine’s Day gift for parents. I just love how they turn out and your parents will love them too!
Using Removebg.com to Remove Background
If you don’t pay for Cricut Access, you can go to removebg.com for a free website that will remove the background in just one step. You will follow mostly the same steps we did above, but you will need to download the image without the background to your computer and then upload to Cricut.

Once you upload into Cricut, the background will already be removed and you follow the rest of the instructions instead. It’s an extra step, but will save you the monthly subscription. Although, if you have never used your free trial, you can always do that. Just don’t forget to cancel after you finish your students. I forgot and was charged the monthly fee. Live and learn, right?
Here is another idea for using the Cricut in the classroom .
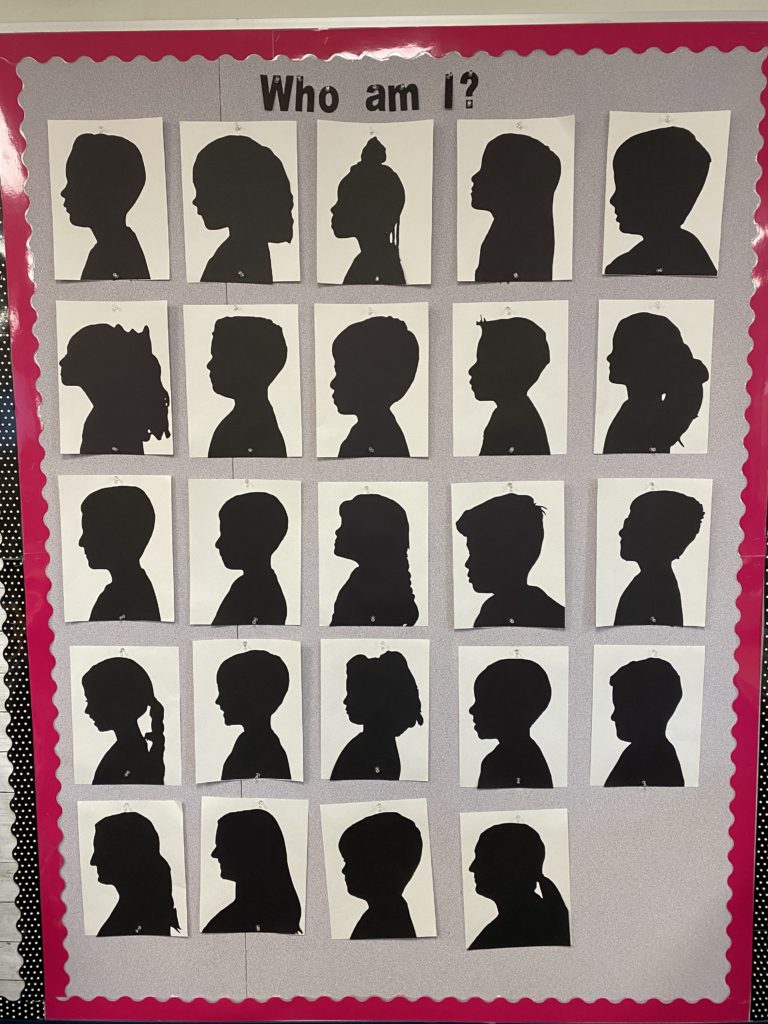
If you loved how this project looked, I also made a bulletin board with their silhouettes. Once all the students were in Cricut Design Space, it was easy to resize each picture to 8.5 by 11 and then I cut it on a 9×12 piece of black construction paper and pasted to a white 9×12 piece of white paper. The students loved trying to guess who everyone was.
How do you use your Cricut in the classroom? Please comment below. I’d love to hear all about them.
Have you already celebrated the 120th Day of School? If not, check out this blog to see how we celebrate the 120th Day in first grade.