Make Your Google Classroom Stand Out With These Creative Banner Ideas
Google classroom banners are a fun way to switch up your google classroom on a regular basis. It only takes a second to change them and they’re super simple to make. You can even make them animated if you’d like. The only thing you can’t do is remove the grey shadow that Google puts on top of your picture for ADA compliance.
How to make Google Classroom Banners
I use both Google Slides and Canva to make my classroom banners. Today I’m going to focus on how to make them in Google Slides.
First open up a new presentation in Google Slides. Then go to file, Page setup, and set the slide size to 10.42×2.6 inches.

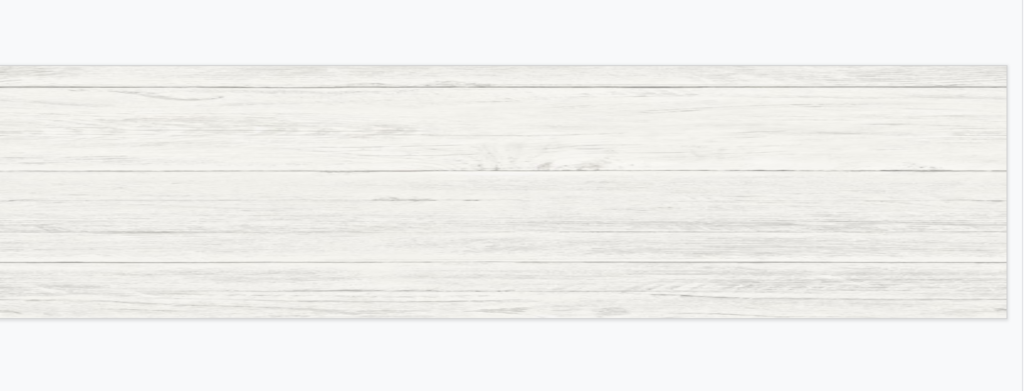
Now that you have your slide size setup, you need to add your background. You can insert whatever you’d like for the background. I like to keep the background super light because of the grey shadow that Google places over your banner picture.
The Background
Click on background, Choose Image, and Google Image Search. You can type in whatever you might be looking for such as “white shiplap.” Scroll through until you find an image you like. You can always change it later if you’d like.
Text and Clipart
Once you have a background image you like, you can start to add text and clipart. Click on Insert, Image, and Search the Web if you are making these to use in your own Google Classroom. If you’re planning to sell them, you will need to purchase or create your own images.

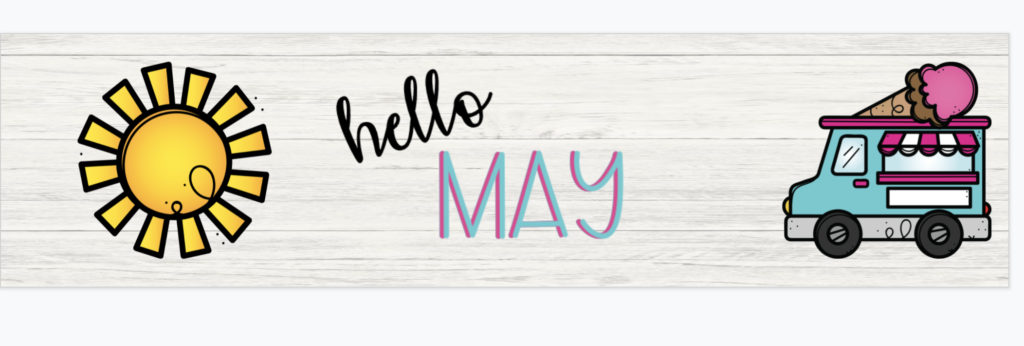
I like to create my text as images in Powerpoint and save as a png to insert. This way I can use all the cute fonts I’d like since Google is limited on Fonts. In this May sample banner, I’ve created the word “May” in both pink and teal and saved both as pictures. When I added them to the slide, I just offset them slightly so you can see both. I also made the word “Hello” in PowerPoint. Once you have the text the way you want it, simply right click on the text box and click Save as Picture. You don’t need to make them in PowerPoint if you’re okay with the Google font selection.
Finishing Up and Loading Your New Google Classroom Banner
Once you have the banner the way you want it, you can click on File, Download as a PNG to your computer. Now, all you need to do is add it to Google Classroom. To upload it to Google Classroom, click on Upload photo in the bottom right corner of your banner. You can either drag your photo from your computer and drop it in, or you can use the Select a photo from your computer option and find it that way. The photo will load, but you will need to move the boundary lines out so the whole picture is within the corners. Once you have it ready, click Select Class Theme on the bottom left.
But Wait, There’s More-Animation
Do you like the animated effect of the Google Banner? You can easily do this, but it takes a couple more steps and a free extension. In order to animate through Google Slides, you will create multiple copies of your main slide. Then you can adjust the placement of the text and clipart on each slide.
For example, in my Hello May banner, I made 8 slides and then adjusted them. You can see in the photo that I took the Hello off of every other slide, this will give it a blinking effect. I also switched the text on May so that on the first slide, the pink is on the bottom and teal on top. The next slide is the opposite.
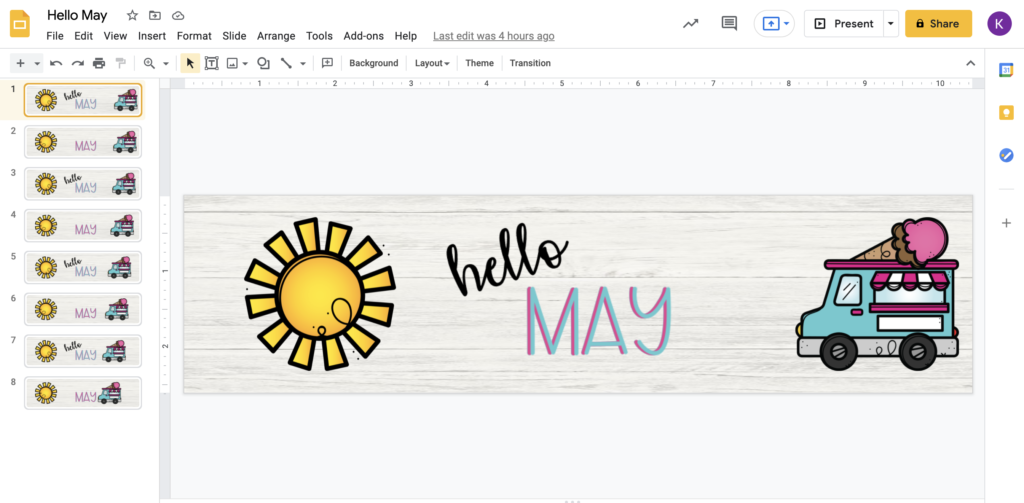
Next I moved the truck over slightly on each slide so it looks like it’s driving into the words. For the sun, all I did was flip it. Click on the item and then click Arrange, and then Flip Horizontally (or even vertically). Play with it until you get the effect you’d like. Again, I did this so that slides 1,3,5,7 were the same and slides 2,4,6,8 were flipped.
Creator Studio
Finally, the add-on you need is called Creator Studio. It’s totally free and pretty easy to use. Just click on Add-on, then Get Add-on and search for Creator Studio. Install it and it will now show up in your Add-on menu.
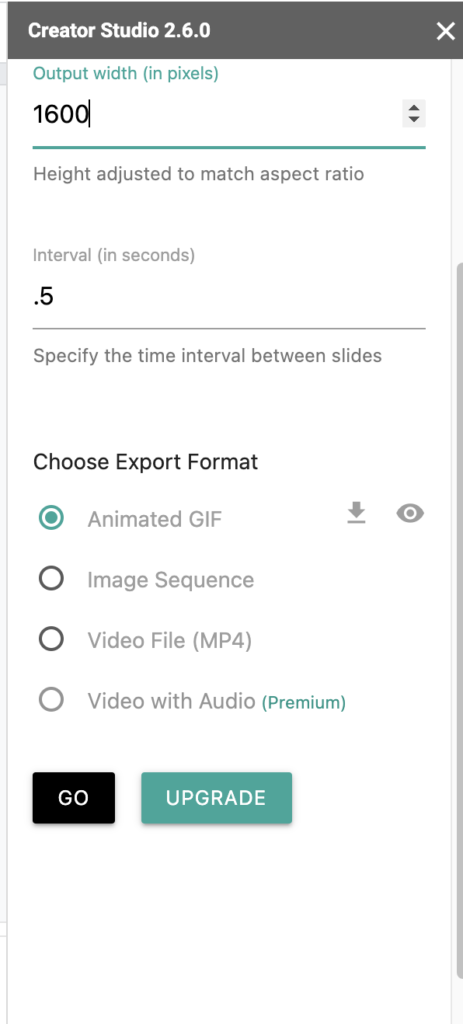
To start the animation process, you will click on Add-on, Creator studio, and Create GIF. A menu will appear to the right. You will change the Output Width (in pixels) to 1600 and change the Interval (in seconds) to a smaller number. The smaller the number, the faster the slide will appear. The preset is 2 seconds which is really slow. I like to adjust it anywhere from .3-.75 but I think my happy spot is .5. You will need to play with it to see what you like. Under Choose Export Format, “Animated GIF” should already be selected. Now click the black Go button and you will see what your banner looks like.
When it’s done, it will say Render Completed. Now go to your Drive and find the folder Creator Studio that was automatically created. Your GIF will be in this folder.
If you love it, just download as we did earlier and upload to your Google Classroom. If it’s too slow, or two fast, go back and tweak it until you find what you like.

Customize With Themes and Colors
Give your banner a unique look with customized themes and colors. Use bright, eye-catching shades to create an inviting atmosphere or go for calming neutral hues that won’t distract from learning content. Try out different patterns and textures to keep things interesting and make your banner stand out from the rest!
There are so many different ways you can customize your Google Classroom Banner to fit your needs. You can make different ones for each subject. Or add your Bitmoji and have it move across the screen. You can create a banner that’s similar to your actually classroom.
I like to change mine out weekly based on the month or season. If you’re ready to change your banner out more frequently, but don’t have the time to create your own, I have a full year bundle that has cute banners from August to June. Check out the bundle here.
If you’re just getting back to school and you need refresher on teaching routines and procedures, check out my blog here.